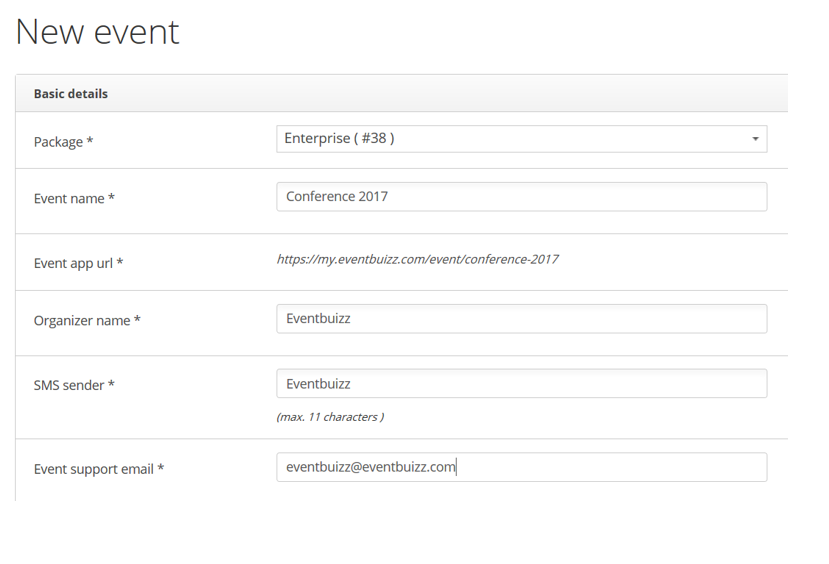
To get started you need to start by creating your new event and fill in the the mandatory details.
Basic details
Your choice of Event name is important as it will be determining your url for both the registration site and the web app. You can change it as many times as you need afterwards, but, never change the name after you have sent out the url links to your attendees, as the original url no longer exists.
Organizer name and SMS sender will appear as the sender name when emails or text messages are sent from the system.
Event support email is not an email address which will be visible to your attendees anywhere, but it has some some functions when you use the module Q & A and when attendees cancel their registration to an event.
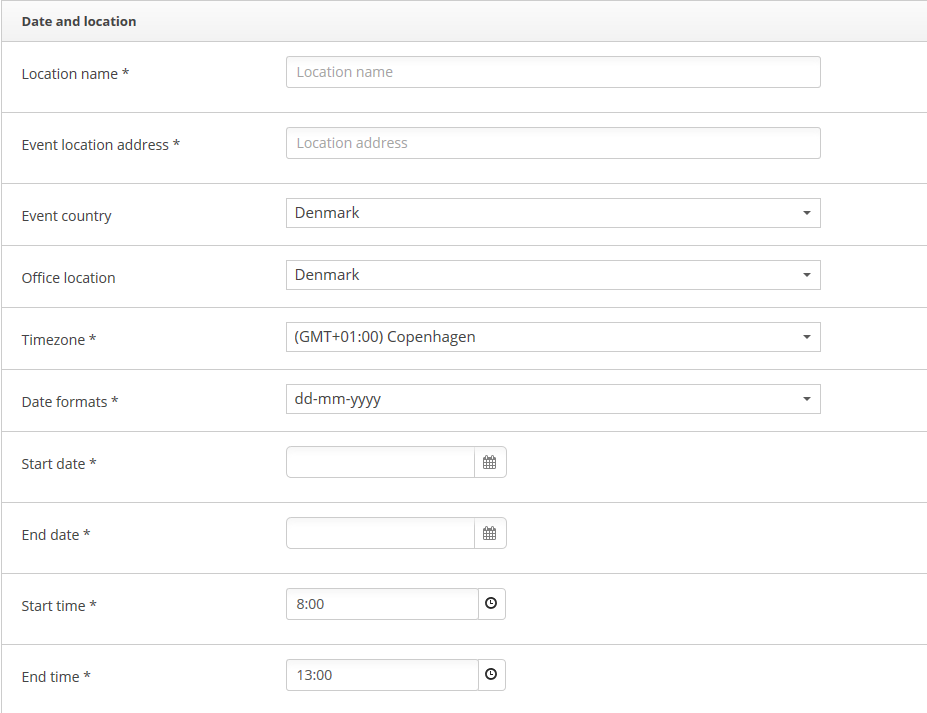
Date and location
Location name and address will be visible on the registration site.
Start time and end time will not be visible anywhere but is related to the ‘Add to calendar’ function on the registration site. The time span chosen, will be what is booked in peoples calendars.
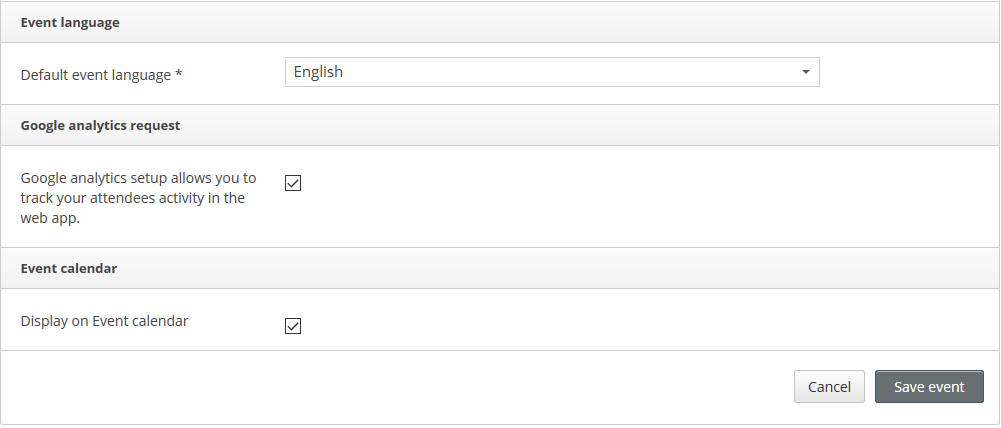
Event language is the only thing you can not change after you have created your event, so it is importnat that you know which language your app and registration site should be presented in when you create your new event. Please note that the language in the event center – where you are working with the Eventbuizz platform – will always be in English. Event language is the language all the predefined labels will be in – the labels are the different text the attendees will see.
Google analytics gives you access to tracking data for the attendees if they log on the web app. Which pages did they visit? How many logged on etc.
Event Calendar is only available if you have added it in your licence with eventbuizz. It is possible to integrate an iframe showing your (eventbuizz) event calendar on your own website. To hear more – contact our sales department.