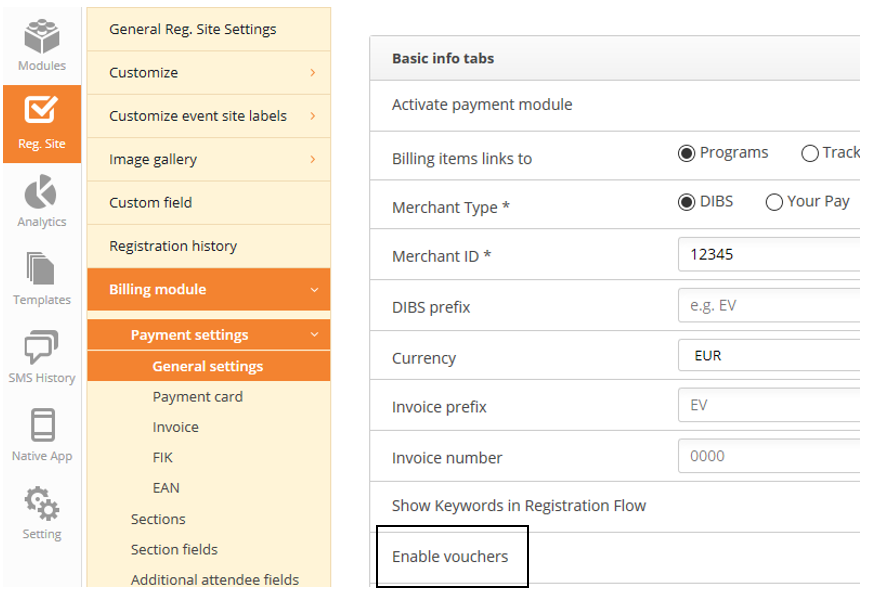
Before creating a voucher, you have to active the use of vouchers, in Payment settings -> general settings:
Now you are ready to create the voucher. Either you create the voucher one by one, or you import a csv file.
Create a voucher one by one
Vouchers can be linked to the full order or a certain billing item – it can be a percentage or a certain amount.
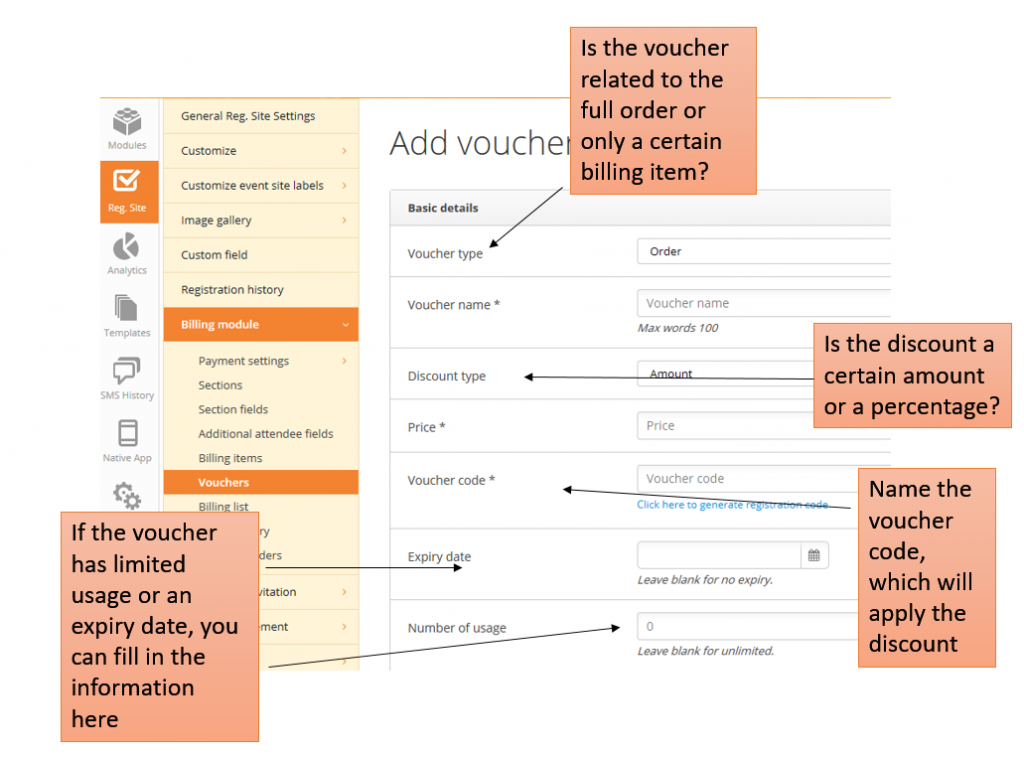
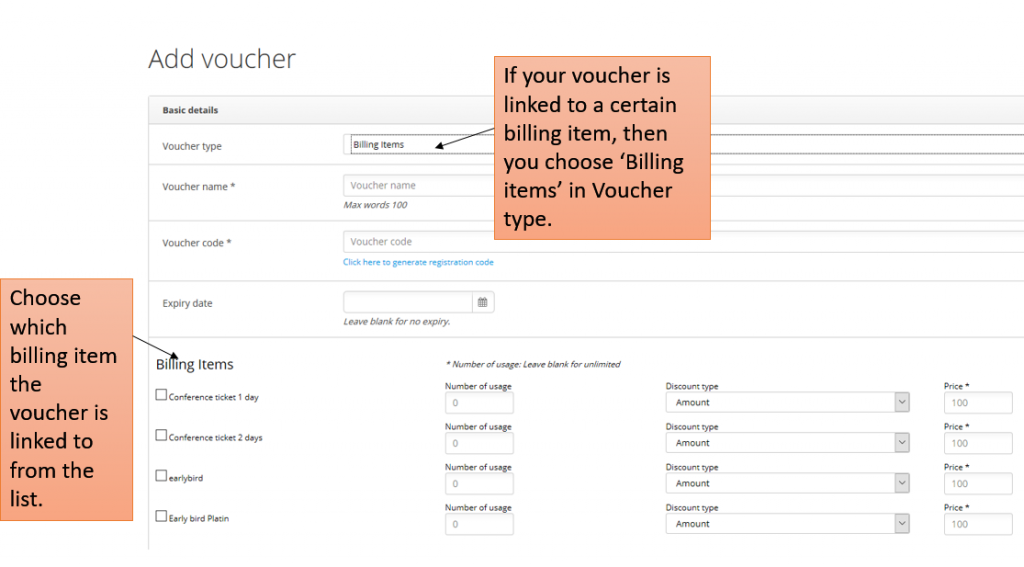
If your voucher code is linked to a certain billing item, you first have to create this billing item. For guidance to create billing items, click here.
Import vouchers
If you have many vouchers at your event, then you can create a csv UTF8 file, and import many in one single upload.
Go to tools -> import -> download import file template and start to build up your file.


When filled in, it could look like this example:
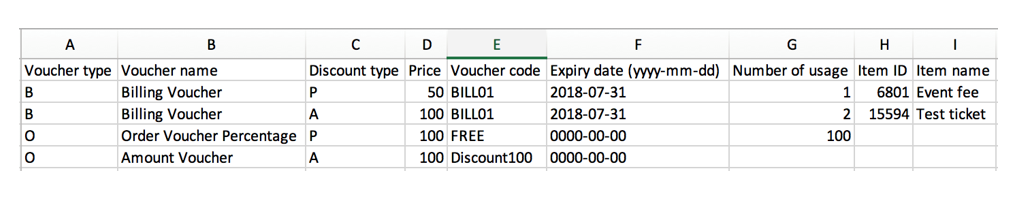
Voucher type – this indicate if the voucher you are creating is on billing item level or order level. ”B” = billing item. “O” = Order.
Voucher name – name of the Voucher, so you as an organizer can identify it in the Eventcenter.
Discount type – This indicate if the discount should be a percentage or an amount. “P” = percentage. “A” = amount.
Voucher code – Voucher code that must be used by the attendee, when they register, to activate the discount.
Expiry date – If the voucher has an expiery date, then this date must be entered. If left blank/0000-00-00, the voucher will not expire.
Number of usage – Enter how many times the voucher code can be used. Empty is equal to unlimited.
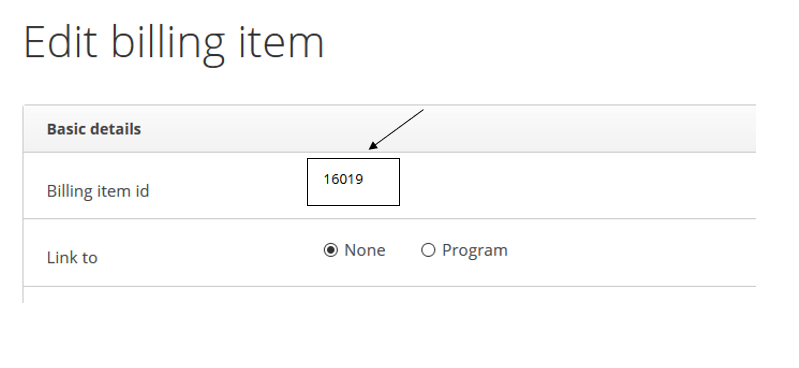
Item ID – Only used for Voucher type “B” and is referring to the billing item id. The billing ID, you find here: Billing items -> click edit on the relevant billing item.
Item name – name of the billing item (not mandatory)