The “Map” module in “Eventbuizz” allows event organisers to upload and manage maps to guide attendees through various aspects of the event venue. This module supports two types of map integrations: uploading a static image or embedding a dynamic google map. The maps help attendees locate session areas, facilities, exhibitor booths, and other important locations within the venue.
Accessing the map module
Navigate to map module
- Login: Sign in to the eventbuizz dashboard.
- Go to eventcenter: From the main menu, select eventcenter.
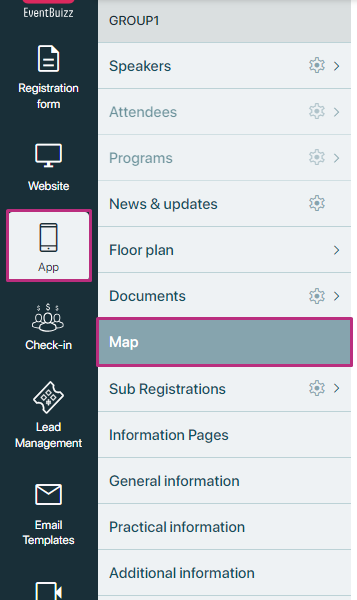
- Access map: Click on App in the sub menu and then select Map. This will direct you to the map management interface.
- Eventcenter->app->map
Initial screen
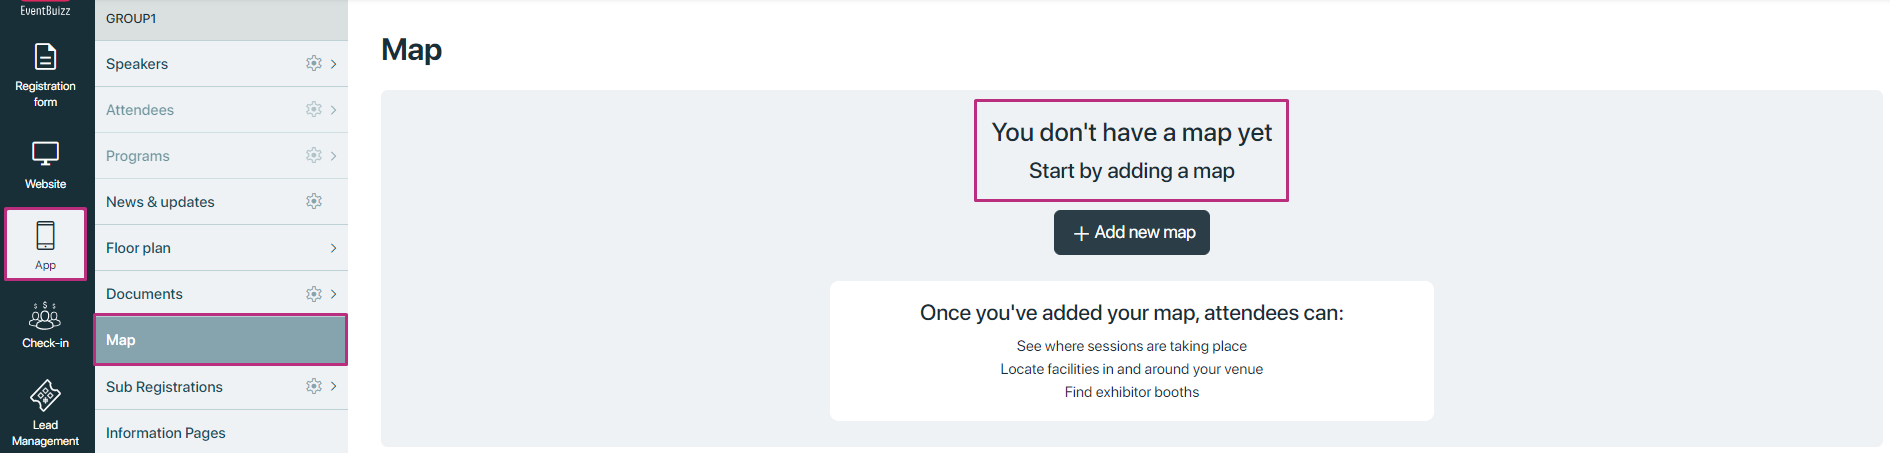
- If no map has been added yet, the screen will display:
- Message: “You don’t have a map yet. Start by adding a map.”
- This message indicates that you need to add a map before it can be accessed by attendees.
Adding a map
For adding a map, organiser will click on “+Add new map” button, and it will redirect to new screen where organiser can add map detail.
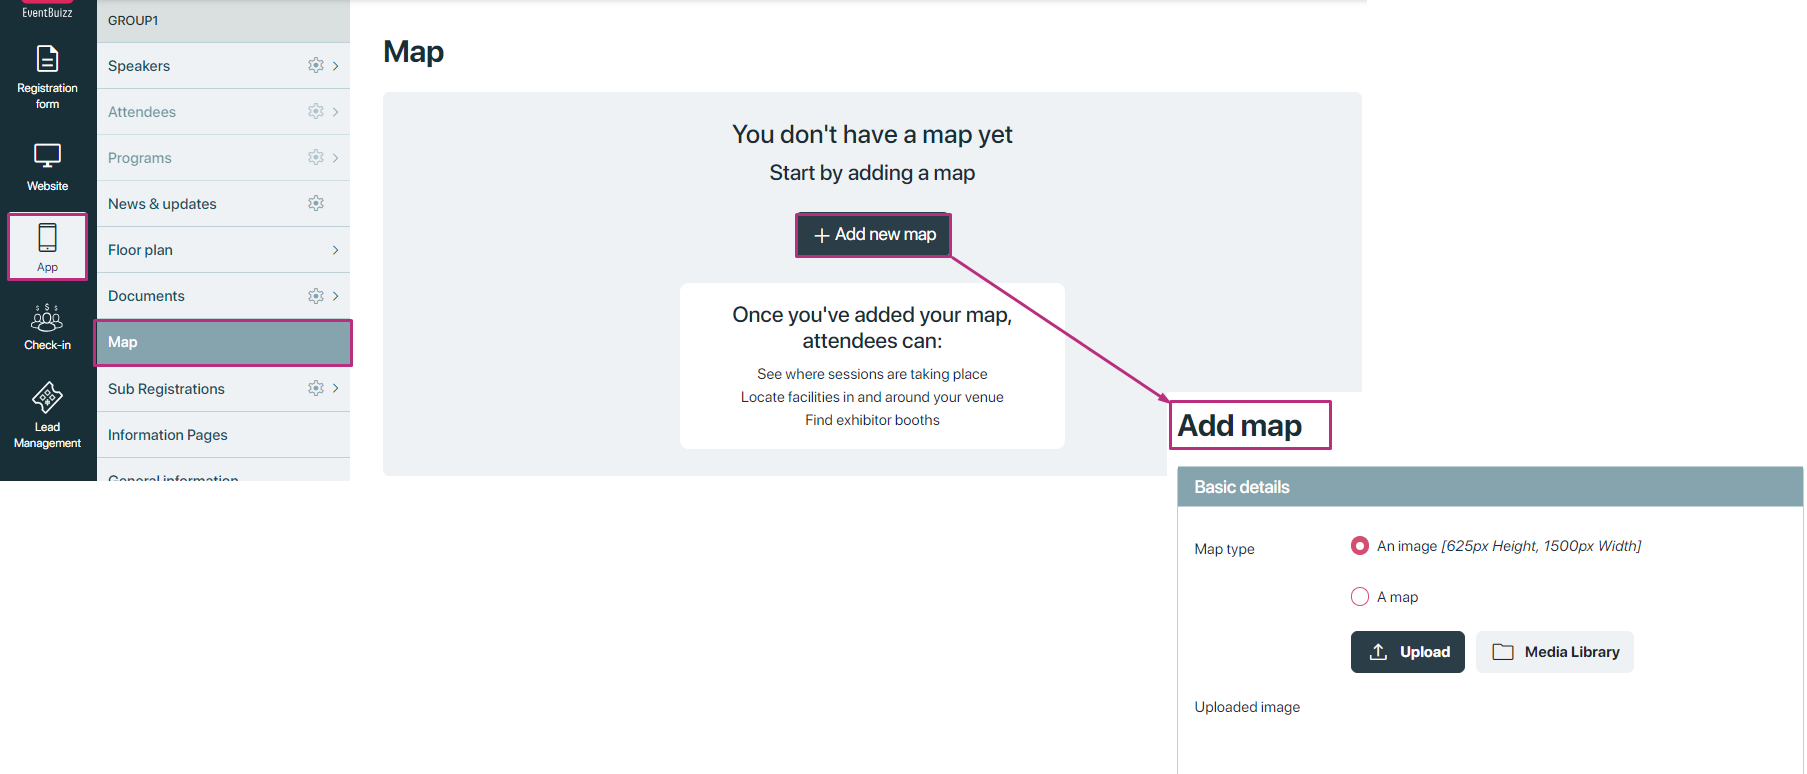
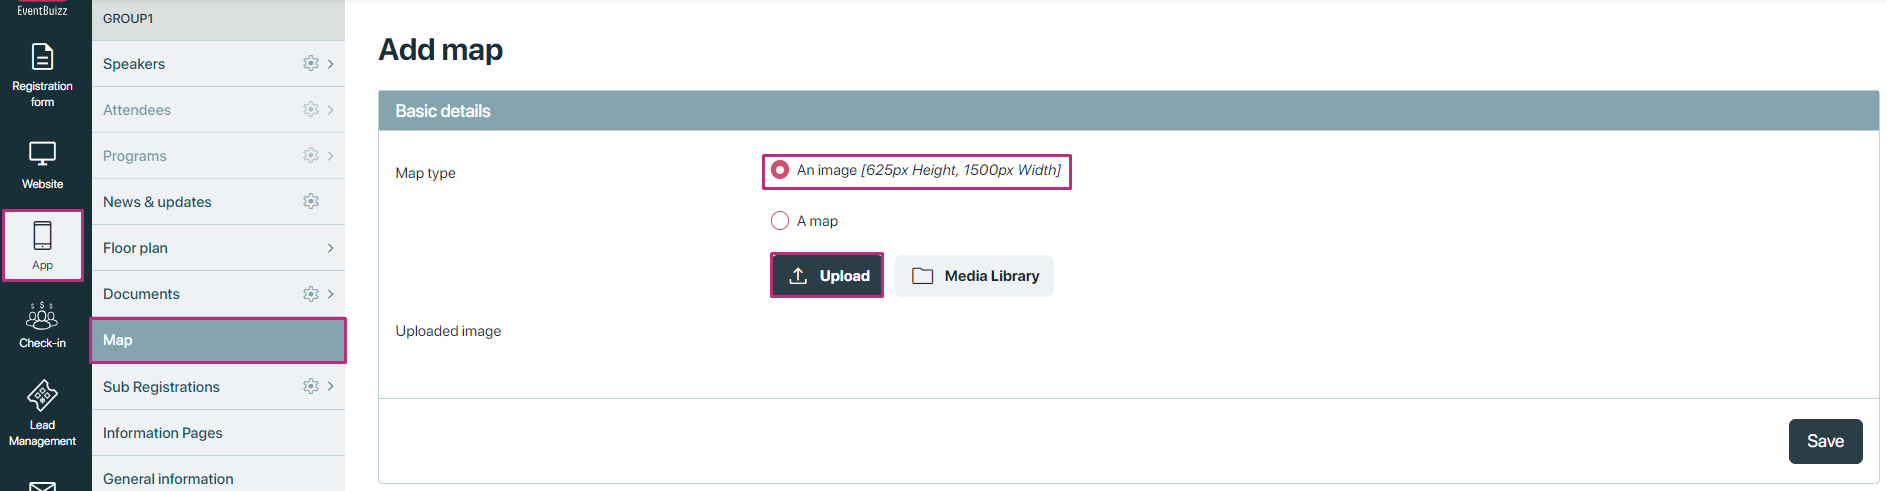
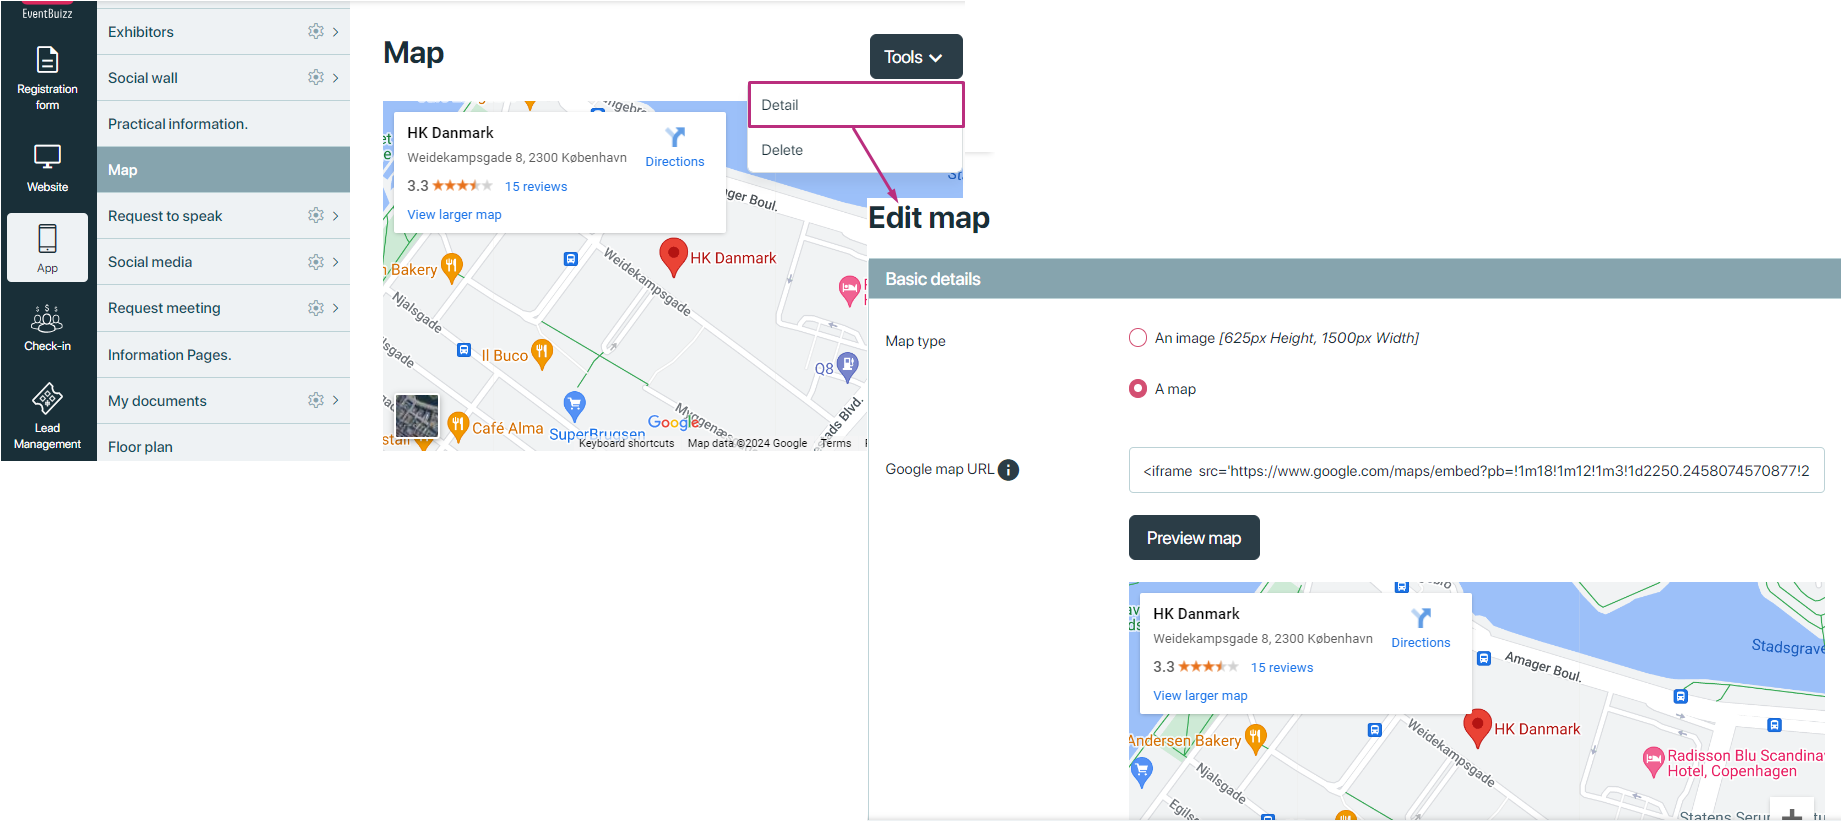
Choose map type
- Organiser will be presented with two options via radio buttons:
- Option 1: An image [625px height, 1500px width]
- Option 2: A map
Uploading a map image
- Select the image option: Click the radio button labelled “An image”.
- Upload image:
- Upload button: Click the “upload” button to open a file dialog. Select the map image file from your local device.
- File requirements: Ensure the image is of the recommended dimensions—625px height by 1500px width—to ensure proper display.
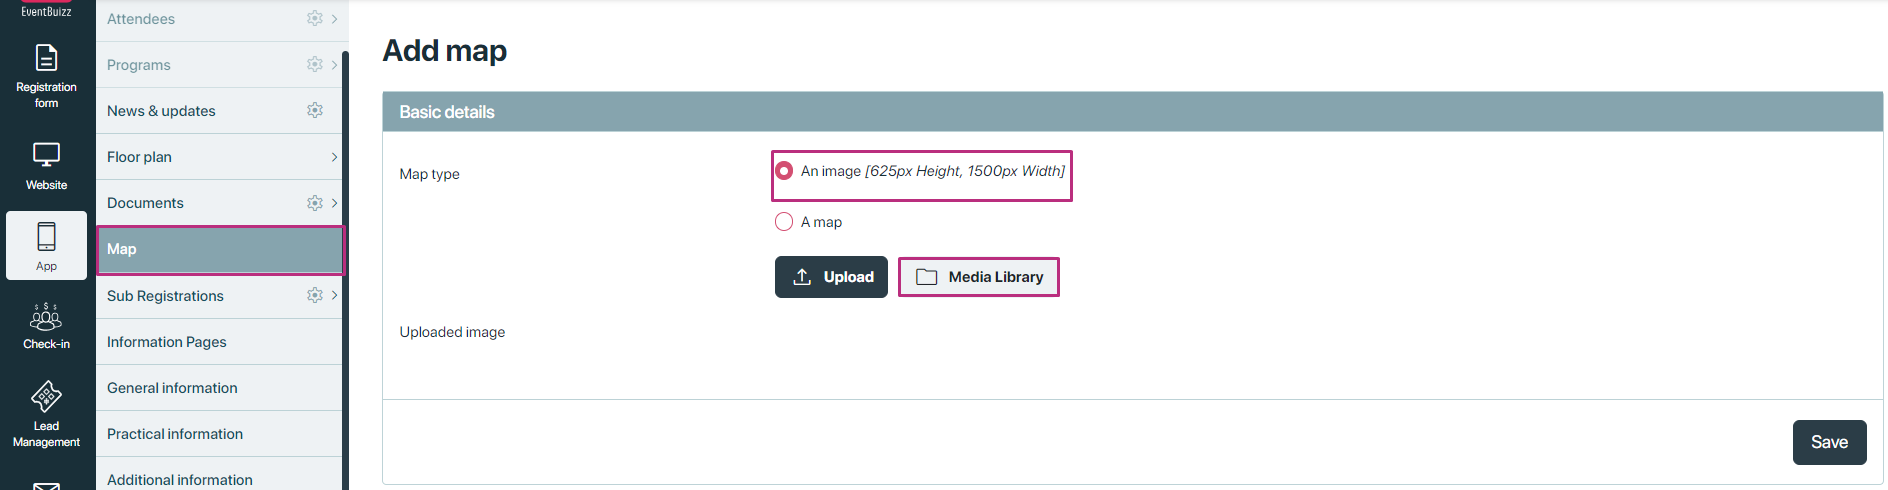
Media library option:
- Access media library: Click the media library button to browse previously uploaded images.
- Select image: Choose the appropriate image from the library and confirm your selection.
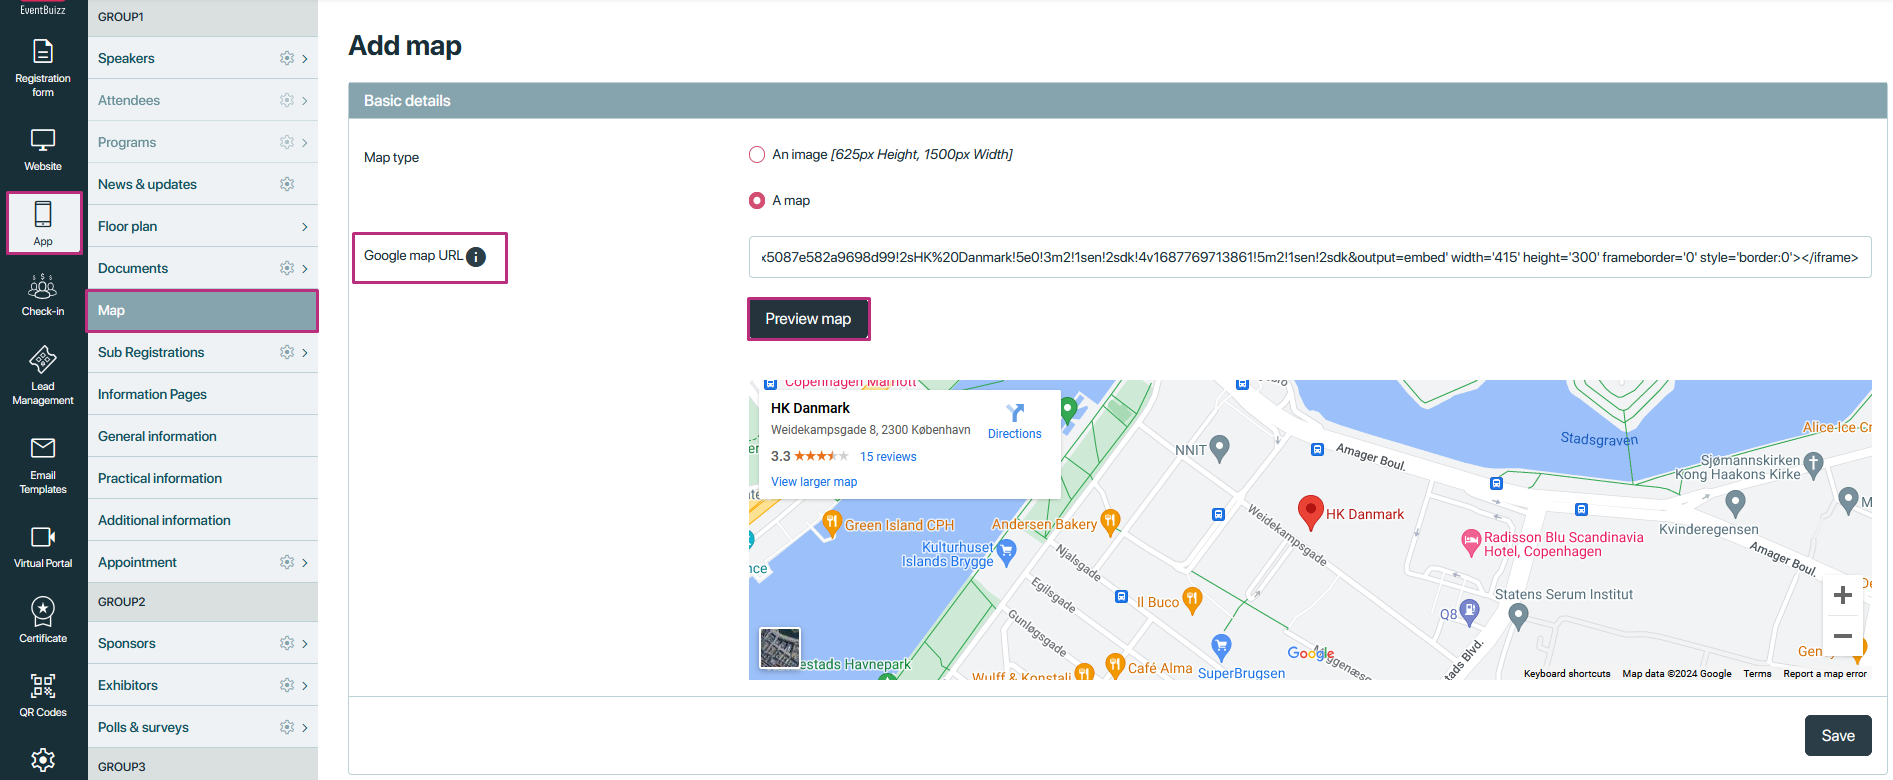
Embedding a google map
- Select the map option: If organiser click the radio button labelled “A map”. It will open a new field “Google map url”
- Enter google map URL:
- URL field: In the provided input field, organiser will paste the URL of the google map.Ensure the URL is correct and points to a public google map that can be embedded.
- After embedding google map URL, organiser can also preview the map by clicking on “Preview map”.
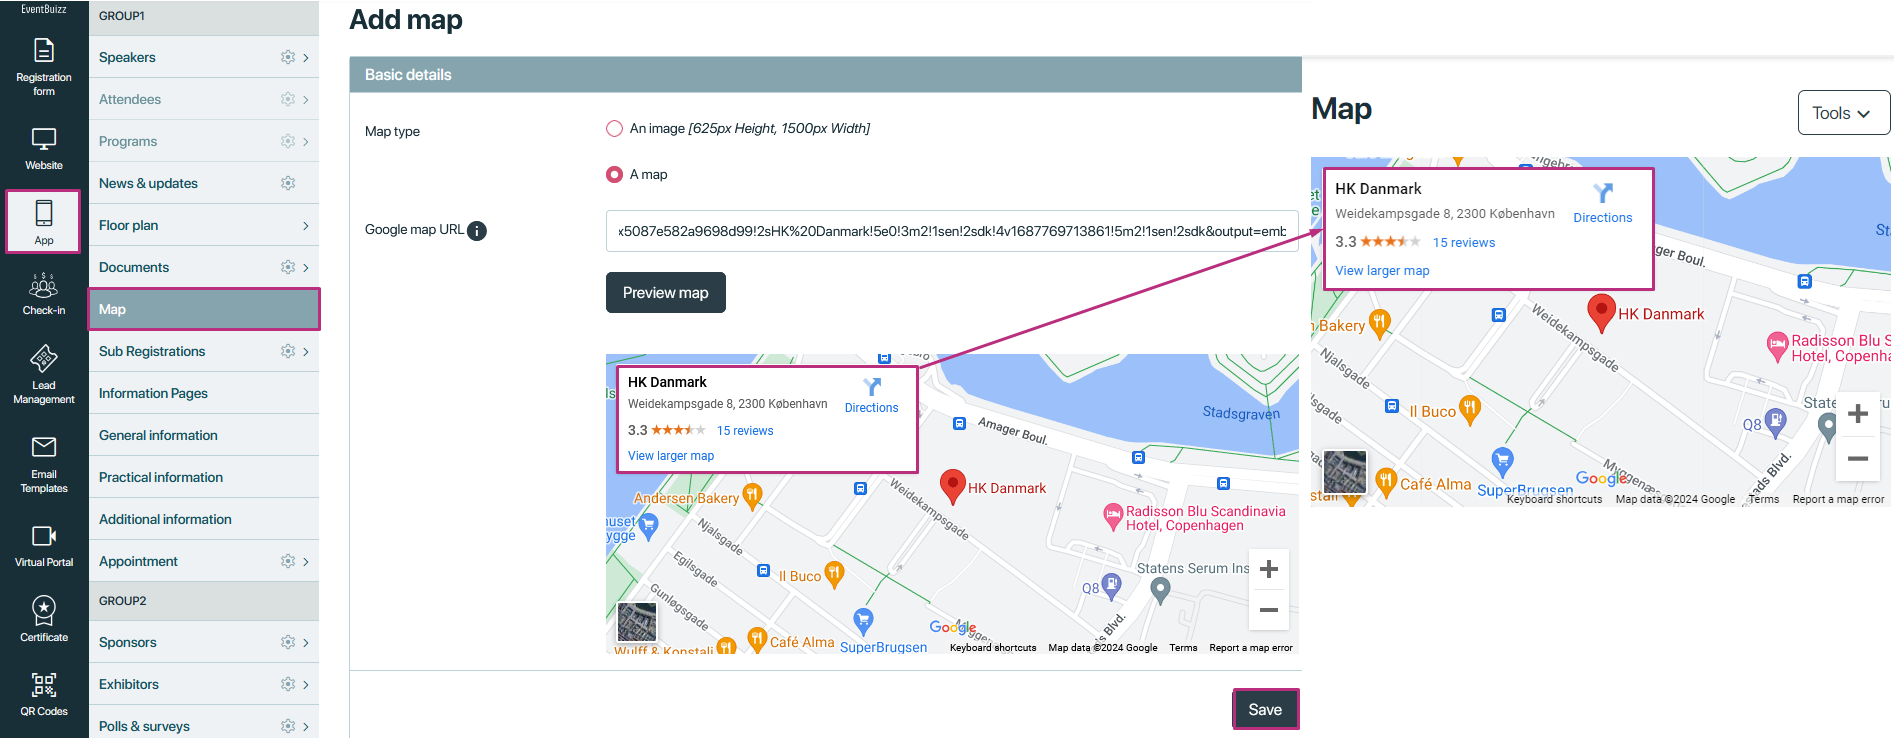
Saving the map image or google map URL:
- Image or URL integration: When an event organiser uploads a map image or provides a google maps URL, the system processes this input to display the map with specific details.
- Pinning Locations: The map image or URL is overlaid with pinned locations to highlight important spots such as exhibitor booths, session rooms, registration desks, etc.
Displaying map details:
- Map visualisation: The saved map or URL is rendered within the map module. If a google maps URL is used, a google maps image or interactive map with the pinned location appears.
- Address details: The address details associated with the map location are displayed, providing context to the map image. This helps users understand the exact location and details of the venue.
Tools for organisers:
-
Edit details:
- Function: The “Detail” button allows organisers to edit the map or address information. This could involve adjusting pinned locations, changing the address, or updating map details.
- Process: Clicking this button likely opens an editing interface where organizers can modify the map settings or address details. This ensures the map remains accurate and up-to-date.
-
Delete:
- Function: The “Delete” button allows organisers to remove the map image or google maps URL along with its associated details.
- Process: Clicking this button deletes the map from the system, which might involve a confirmation step to prevent accidental deletions.
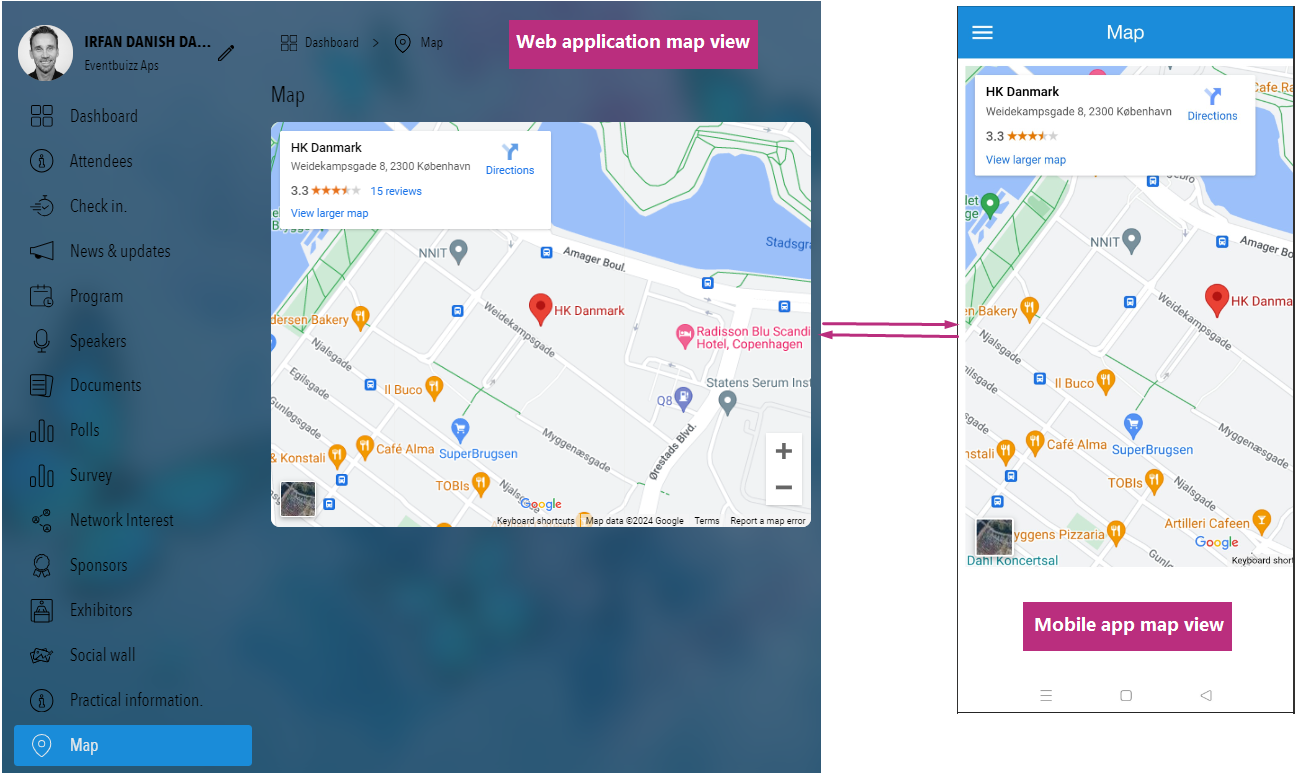
Accessing the map:
- Web and mobile access: Once a map is added by the organiser, it becomes accessible to attendees through both the web app and mobile application. This ensures that users can view the map regardless of the device they are using.
Displaying the map:
- Added map:
- Visible features: If the organiser has added a map, attendees will see the following:
- Event location: The map will show the venue location with details such as address and key areas within the venue.
- Pinned locations: Specific booths, session rooms, registration desks, or other important spots may be marked with pins on the map.
- Interactive elements: The map might include interactive features such as zooming, panning, or clicking on pins for more information about specific locations.
- Visible features: If the organiser has added a map, attendees will see the following:
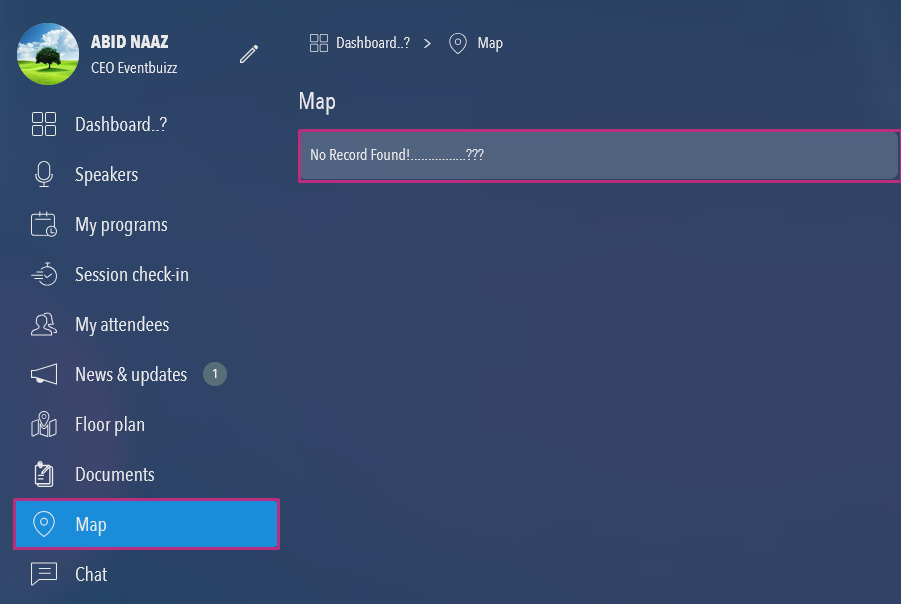
Here is the view of mobile and web application map module:
No map added:
- No record found message: If the organiser has not added a map, attendees will see a “No record found” message. This indicates that there is no map information available for the event, which might require users to rely on alternative methods to navigate the venue or find information.