Ticket mangement is an add on module and is only visible in the eventcenter if you have purchased the module. Please contact sales if you are interested in more information regarding prices.
Tickets can be be created for 2 purposes:
- Tickets can be linked to billing items/ registration items and attendees will receive the ticket after successful registration. The ticket will be attached the same email as the order confirmation/invoice.
- Tickets can be printed in bulk and distributed to a sponsor or exhibitor taking part in the event. The sponsor/exhibitor, can then distribute the tickets to people of their choice.
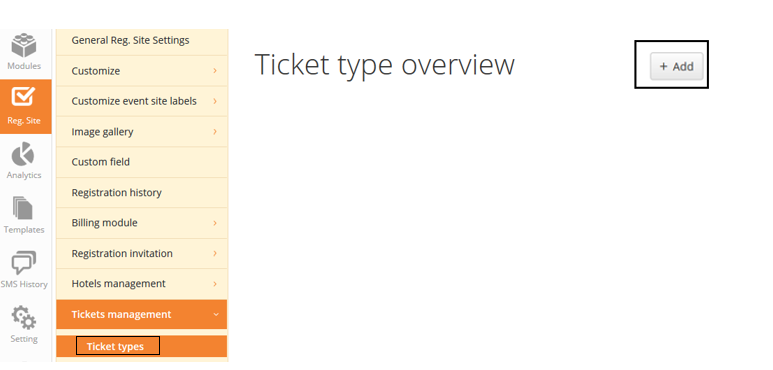
For both ticket purposes – you start by creating the ticket type.
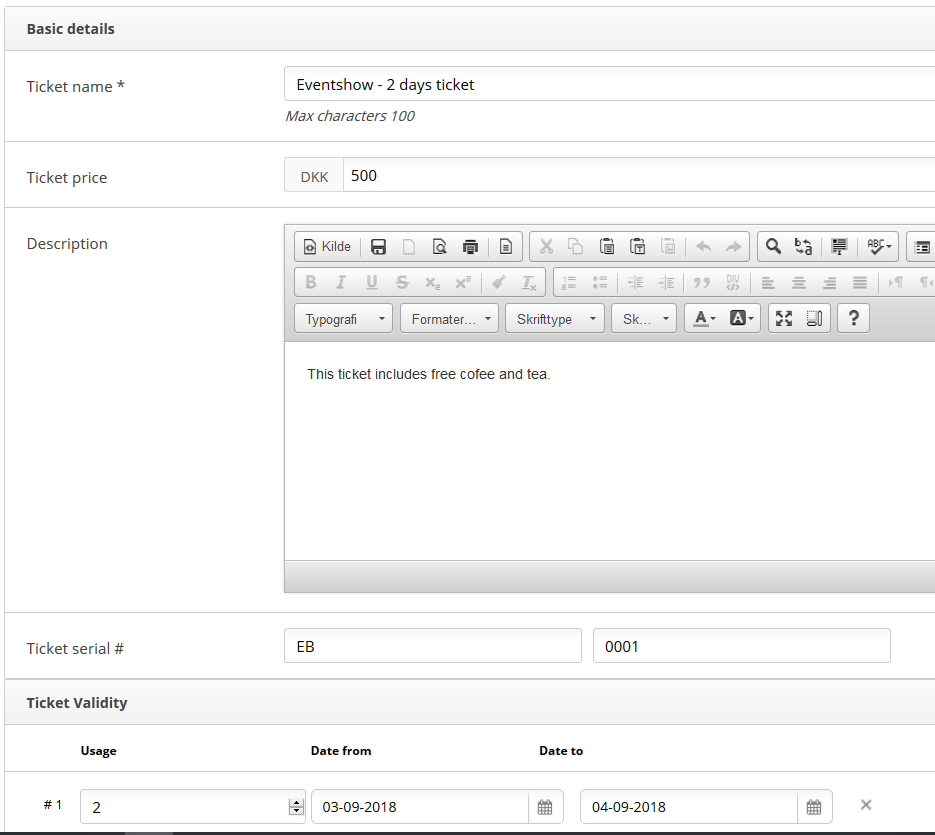
Basic information like ticket name, description, price and validity based on date and number of usage. Be aware that it is mandatory to add a rule – defining number of usage and validity – from and to.
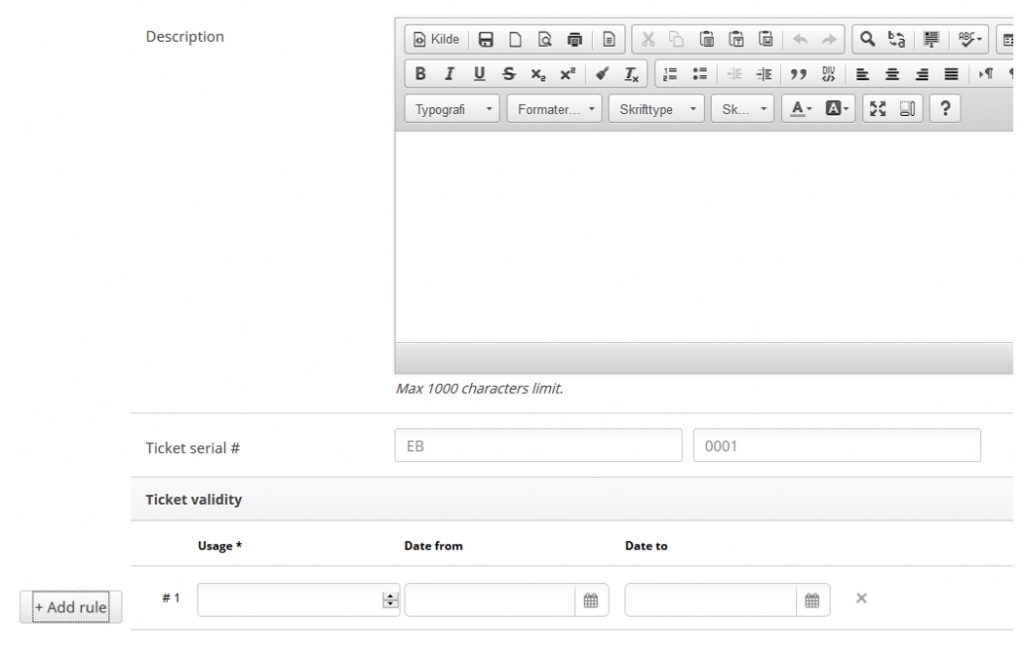
IAdding a rule – allows you to define how many times a ticket can be used and also in what date range.
Tickets linked to billing items/ registration items
Cretate your billing or registration item and link to the relevant ticket type you have just created. The guide to create billing items, you find here

After the attendee has succesfully registered, tickets will be sent as an attachment together with invoice/order confirmation – also if the attendee has added additional attendees during thee registration.
Ticket will look like this:
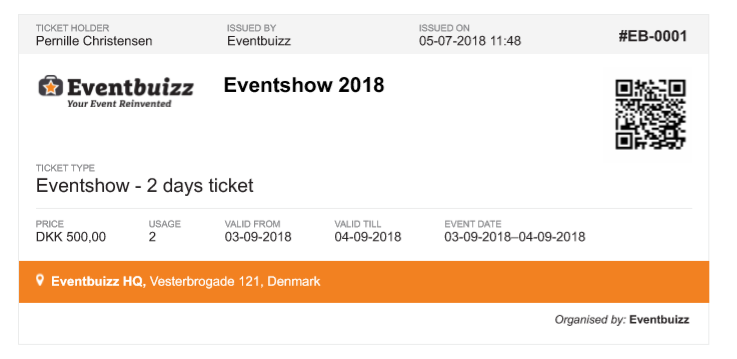
This ticket can be scanned with the eventbuizz check-in scanner
The QR code on the ticket is not linked to a certain attendee profile and therefore you will no be able to see exactly who has been scanned. The purpose of the scan, is at this point, only to validate the usage and date.
To learn more about the eventbuizz check in scanner app – and the settings to use it – please see the guidelines in the end of this article.
Loss of tickets
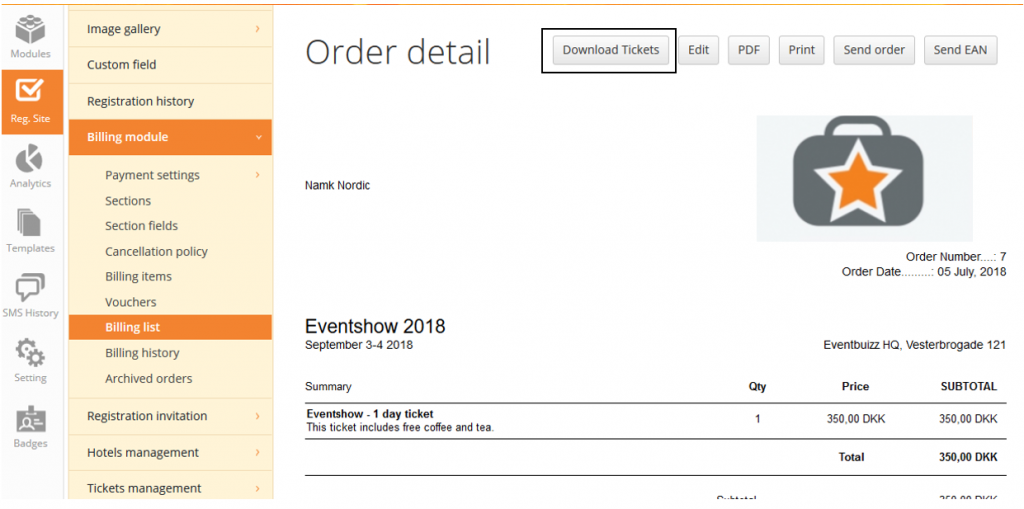
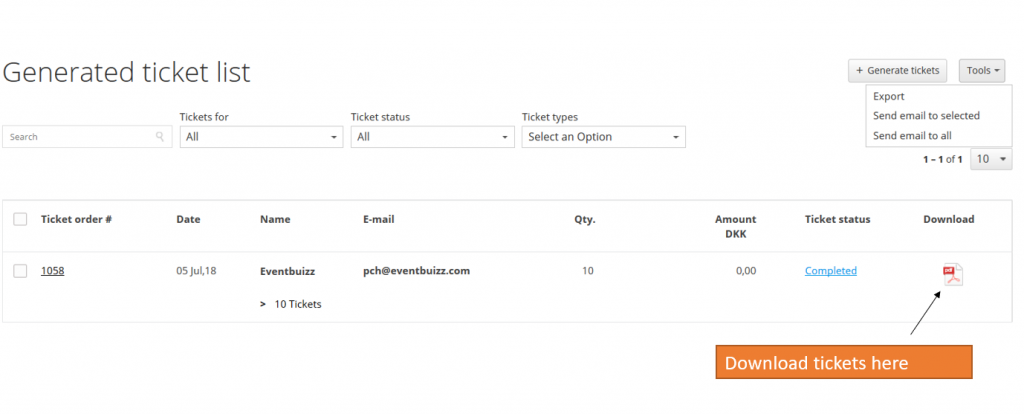
If an attendee has lost their ticket, you can regenerate the tickets from the billing list – find the relevant order and double click on the order number:

Click Download tickets and the pdf will be created.
Tickets printed in bulk and distributed to a sponsor or exhibitor
To create tickets in bulk, you must create the sponsor/exhbitor profiles first.
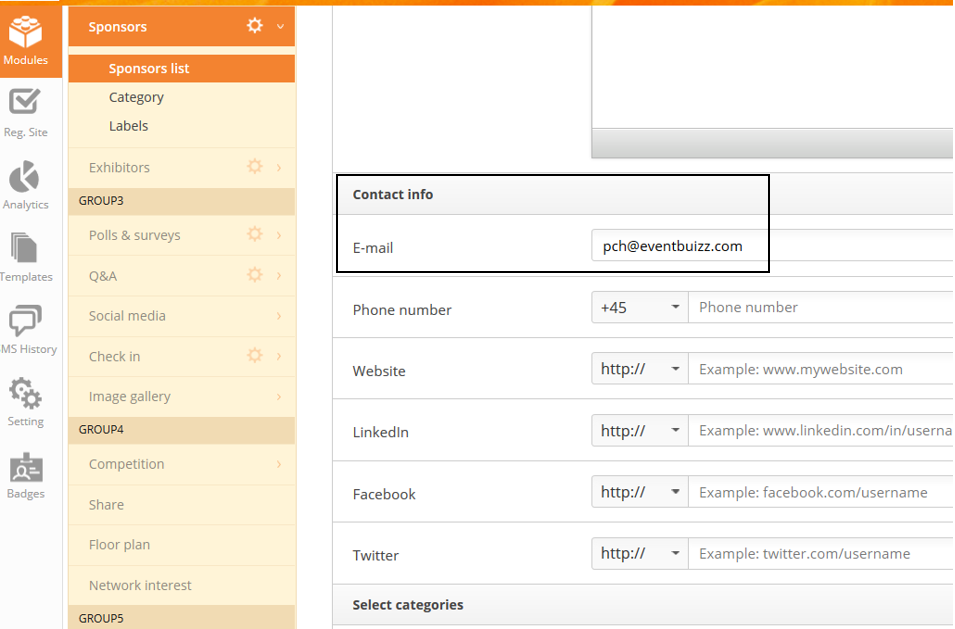
Modules -> sponsor/exhibitor -> listing -> add
It is a good idea to also fill in the e-mail under Contact info – as this will enable you to easily email the bulked tickets to the relevant sponsor/exhibitor after.
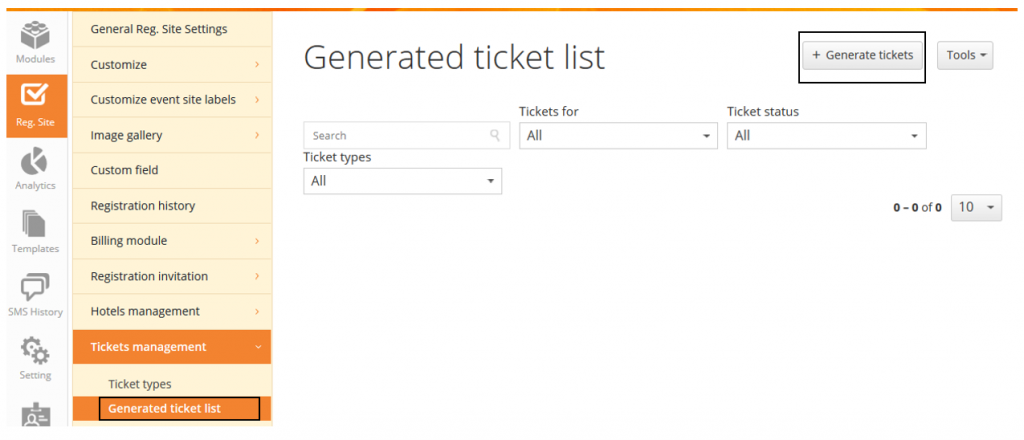
Generate bulked tickets
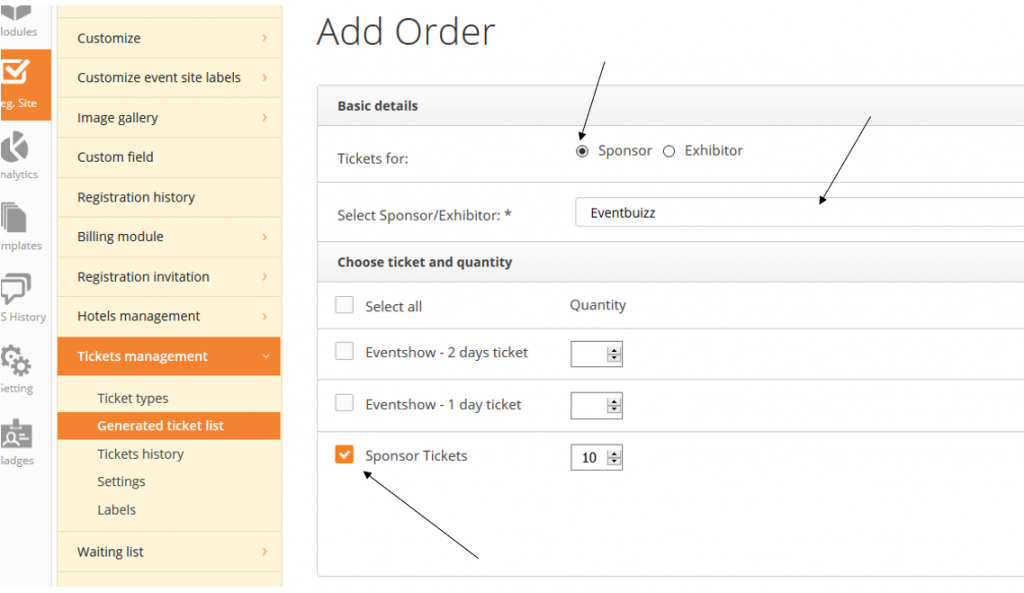
Click +ADD/generate tickets:
Choose sponsor or exhibitor – and then select the specific profile from the list:
Once the ticket bulks are generated – they are listed as below:
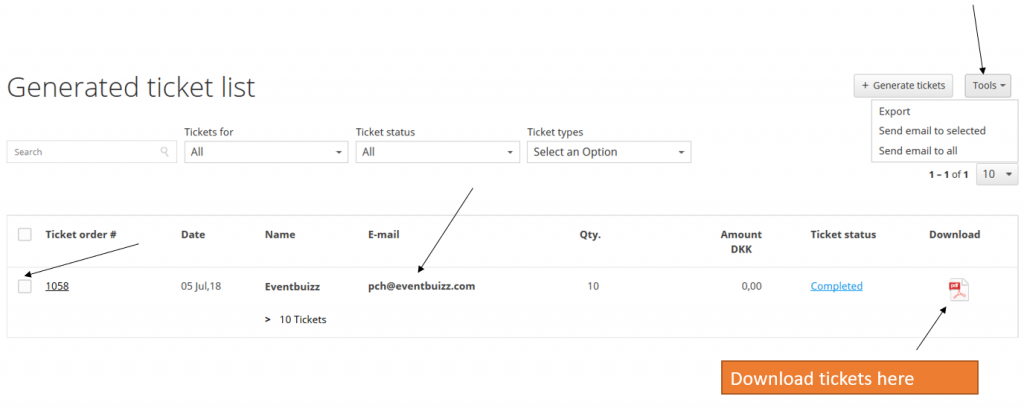
Email tickets to sponsor/exhibitor.
“Send email to all” will send to everybody on your list – if an email is available. If you only want to send to certain sponsor/exhibitors, then select which ones and use “Send email to selected”
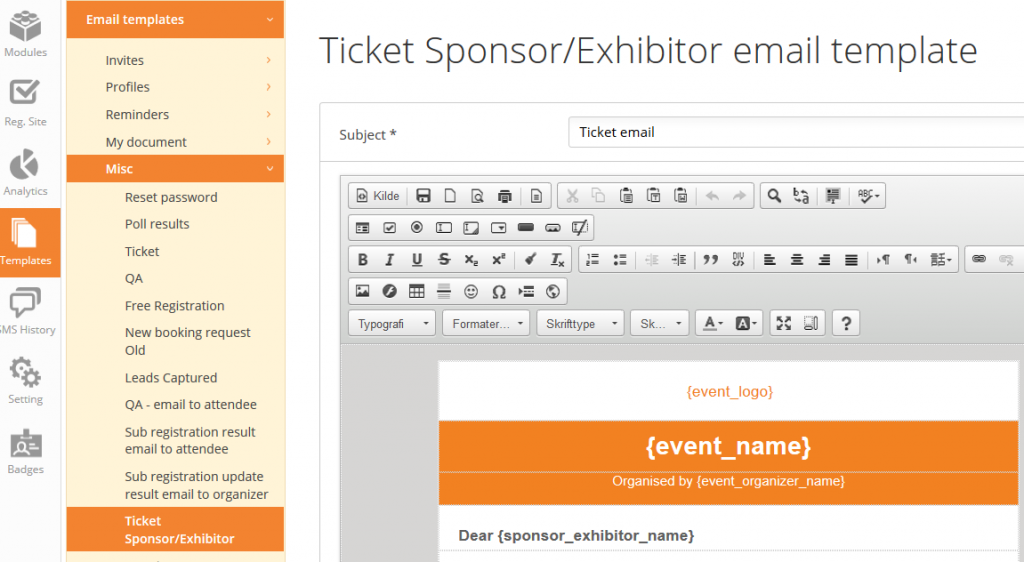
The related email template you find here:
Ticket scan
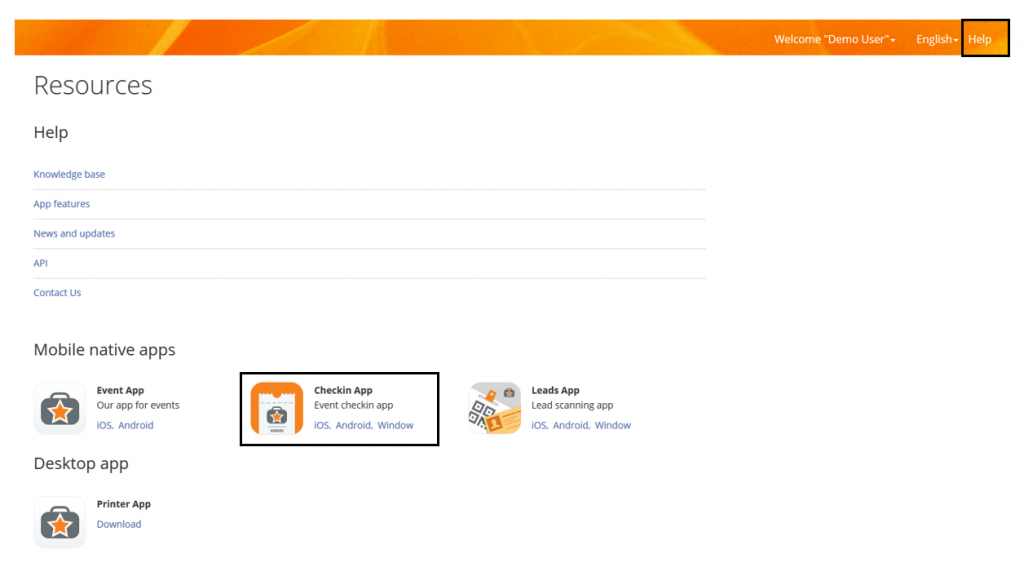
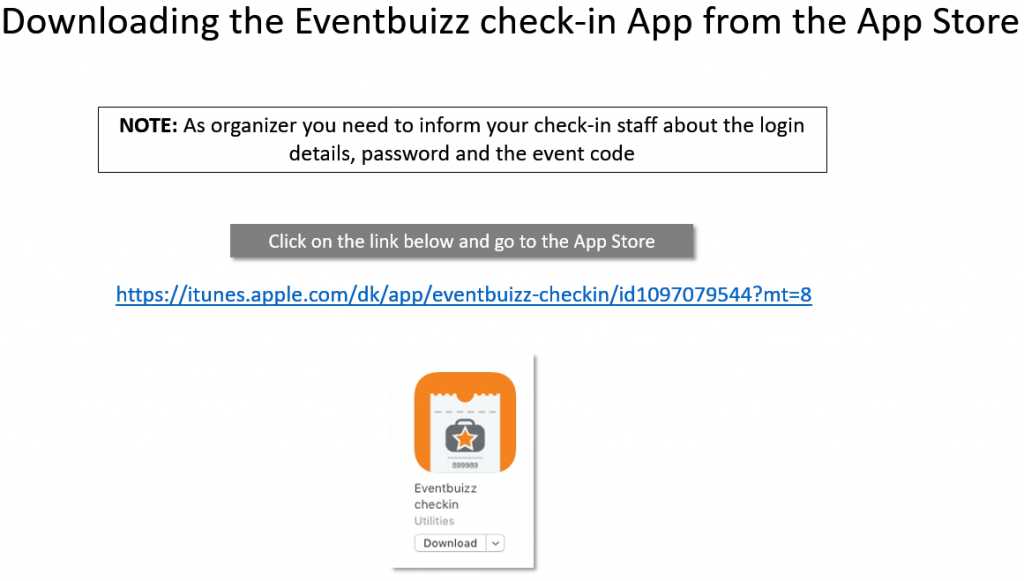
To do a ticket scan, you just need a smartphone and then download the Eventbuizz check-in scanner app.
To be able to use the check-in scanner, you must create the ‘check-in’ staff in the event center.
Creating staff for the check-in function.
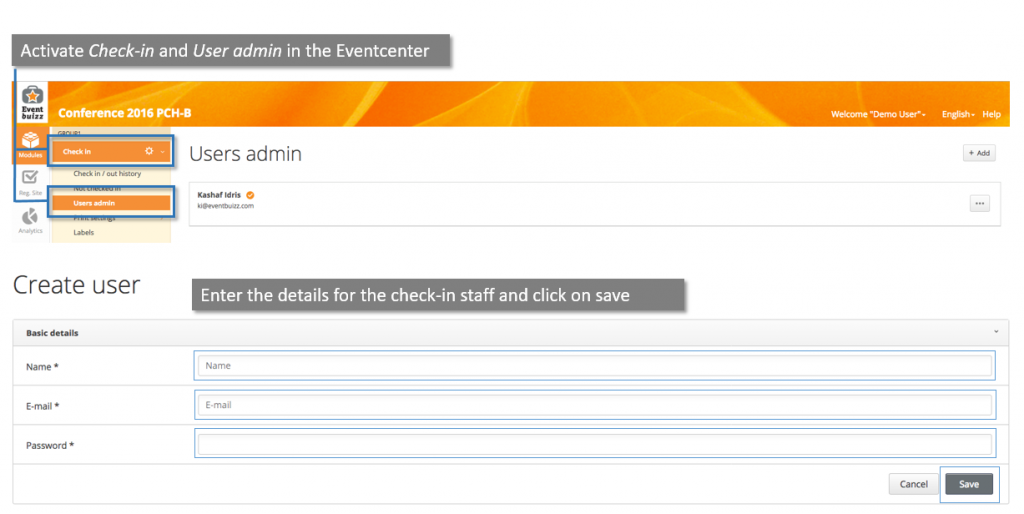
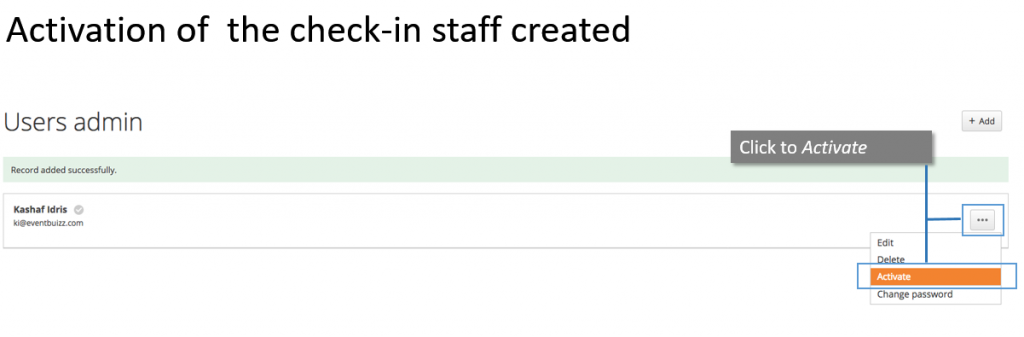
Activation of the scanning staff.
Event code for login.

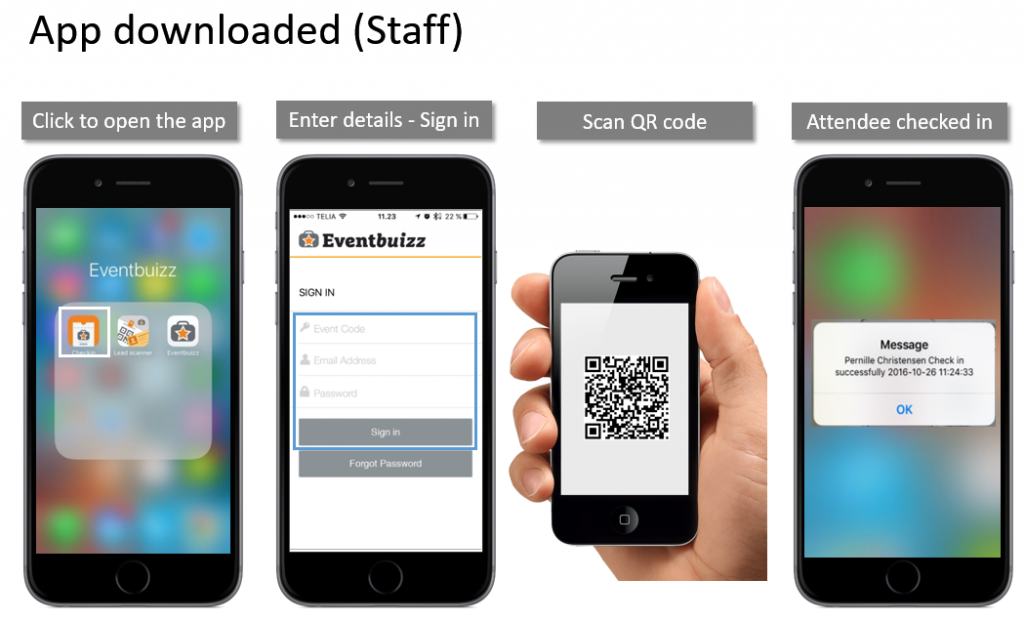
Scanning
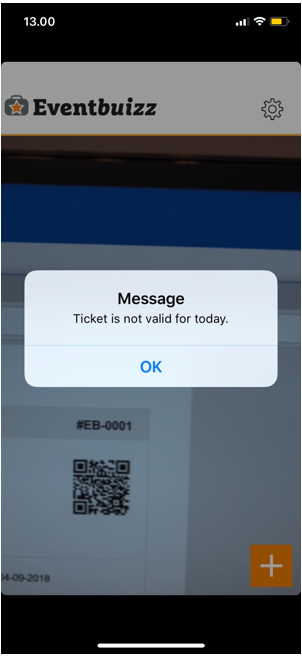
If a ticket is presented out of the correct date range:
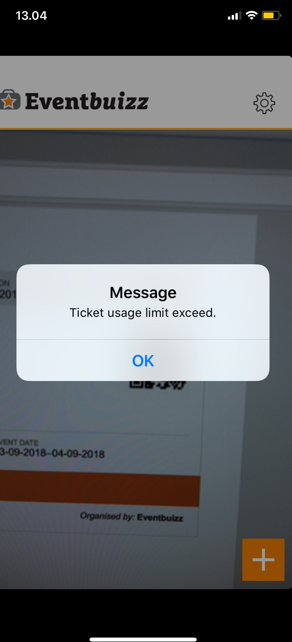
If a ticket has exceed the allowed amount of usages:
If the ticket has been scanned sucessfully:
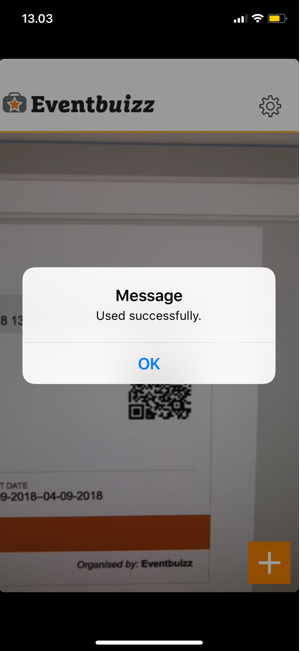
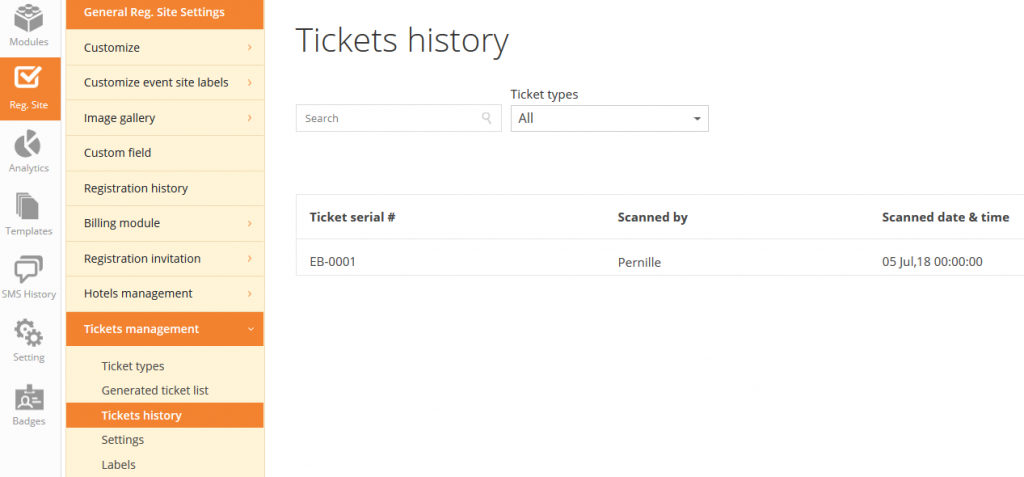
The scanning will now appear in Ticket history